Showing posts with label accessories. Show all posts

Sunday, 17 April 2016

Bunting - double sided this time! OOooooOO


If you have read my bunny bunting post and baby quilt post you will notice I am on a bit of a sewing run at the moment, and I'm loving it!


The bunny bunting, taken from a blog post I saw a link for on Facebook turned out well and I'm really pleased with it. You may remember me saying that I had originally picked out a browny/grey linen - this is that, I did promise it wouldn't go to waste.


I had already picked out the red and white spotty fabric and decided to do hearts - a nice simple shape to applique. 


I also gave the stitching around the appliqued shape a go this time rather than relying on the iron on interfacing. I was a bit nervous about stitching round to begin with but am really pleased...


... once you find the right speed for you on your machine, you're away. I found too slow was as equally hard as too fast, a fair speed meant the fabric flowed through the machine better for me and easier to control curves.


I decided I couldn't leave it there though and set about a cherry design on the reverse, making the bunting double sided. Again I printed and then traced cherry shapes onto interfacing. I traced the same shape multiple times, fairly close together.

TOP  TIP - Before ironing this on to my red fabric I put two tears into each traced shape, this makes removing the backing paper SOOOOO much easier!!


I then ironed the strip of traced  shapes on to the relevant coloured fabric and began cutting out.


The tears put in the interfacing before ironing made removing the backing paper MUCH MUCH easier and no frayed fabric edges trying to get just the backing paper off and not the glue too.


  For the cherry stem I started by marking the shape (an upside down y shape) I wanted in HB pencil. I then followed this line on my machine to make the stem.


Next I cut out the leaves out (using the same process as with the cherries - I traced the shape I wanted on to some interfacing and ironed on to the reverse of the fabric), peeled off the backing paper, place on to the bunting and ironed into place.


I then stitched around the edge (as the green thread was still in the machine) before changing thread and stitching around the cherries. After doing one flag I decided that I needed to not only outline the pair of cherries but define the line separating the cherries. The photo below shows the reverse of the flag with the cherries on to give you an idea of the stitching.


I then placed one cherry flag and one heart flag right sides together and sewed down the two sides to the point to form the 'bunt' (as I believe they are called). I trimmed the point before turning in the right way (I found one of my partners golf tees perfect for making the point pointy when turning in the right way - pointy enough to be precise whilst not going through the fabric or seam as a pencil would). Once I had sewn all the 'bunts'I pressed then - they look much better and more bunting like once pressed.


A quick trim to the tops and I pinned each 'bunt' in between the bias binding, leaving a 10cm gap between 'bunts'. I then stitched with the machine right across including between the 'bunts'.

And here is the finished product:


I did for a short time debate whether to alternate the designs (cherry bunt, heart bunt, cherry bunt etc.) but decided that the whole point of having designs on both sides was to have reversible bunting. By alternating the designs, when I turned it round it would look the same (fine if you're going to hang it somewhere where both sides can be seen) and therefore by putting all hearts one side and all cherries the other I could reverse it for a change.


I've loved making the bunting and have learnt lots. I could happily make plenty more in different colours and designs. If you have made any bunting I'd love to hear about it in the comments below, even a piccy if technology allows.

Bunny Bunting

I saw this link on Facebook a few weeks ago and fell in love the idea of bunny bunting. http://www.poppiesandpolkadots.co.uk/spring-easter-bunny-bunting-a-quick-easy-how-to/
I haven't worked with linen before but decided to give it a go. I picked out a browny/grey from my go to fabric shop to begin with but later spotted a charcoal grey elsewhere that would be more effective with the patterned fabric I picked out for the bunnies. (Don't worry this fabric definitely didn't get wasted - keep your eyes peeled for a future bunting post.) I would say when you're buying fabric however if the shop is reliable at cutting the fabric square/straight you only need to buy 40cm - beware not all fabric shops are very good at this, I find quilting shops cut more precisely whereas general fabric shops are more of a cut and rip kind of measure.
 

 Perfecting my rotary cutting skills I managed to confidently measure and cut my bunting triangles. I then printed the template on the above blog and traced it multiple times on to some double sided iron on interfacing. This made cutting easier and more accurate. I also got more shapes out of the fabric as could think about placing. It also made attaching the bunnies to the bunting easy - peel off the backing paper, place on bunting triangle and iron on - simples!
A tip to make peeling the backing paper off easier - before ironing the webbing/interfacing onto the fabric rip into the design. Once ironed on and cut out, peel from the rip - It makes getting hold of the backing paper easier and makes sure you just peel off the backing paper and not the glue too. 
The pom poms on this pom pom trim were the perfect size for bunny tails and brought a short strip. I cut the pom poms off the trim and stitched each one by hand to make sure they were secure - totally worth it for the effect. 

 Being my first attempt at bunting and over enthusiastic to produce something I didn't stitch round the bunnies - I will next time. Instead I went straight on to pinning the 2 triangles for each flag (one with bunny and one plain) right sides together and stitched down one side to the point and up the other, leaving the top unsewn.
 
 Using bias binding to finish the top means you don't need to stitch the top of the bunting triangles as they are sandwiched in the binding. Taking care to leave some bias at the beginning I carefully attached the first flag and continued to stitch over a 10cm (so there is a nice row of even stitching all the way along the bias binding) before inserting the next flag. 6 flags gives approximately 1.5m of bunting.

My only regret, is in my haste to see them finished, I did not sew around the bunnies before attaching the tails and making up the flags/bunts. This lesson has been learnt as you will see in the next post, keep a look out for more bunting!

Tuesday, 5 April 2016

Window Pane Scarf

My LYS (Local Yarn Shop - Mine is WeKnitYouCanToo) stocks some beautiful yarns dyed right here in Cornwall, Perran Yarns and I have to be honest I am a little bit in love with them. The colours are amazing, every time a new batch comes into the shop I fall in love. So many beautiful colourways. These are special yarns for special projects, the kind of yarn you buy yourself as a birthday treat or when you're making a gift for someone you really like.

Now the item I am blogging about today all came about from one of these skeins of yarn. I wanted to make a Christmas gift for someone with some of this gorgeous yarn. I knew my LYS owner was about to make a trip to Perran Yarns to stock up and so put in a request for something made up of blues and with a little bit of wow. I was not disappointed! She returned with a beautiful 4ply skein of 'Ocean' a mix of blue with sparkle running through. Now, anyone who knows me knows I'm not a bling person and sparkle has to be tasteful in my books. This was perfect!!

The next question was what do make with that, a scarf of some kind, but something a little bit different, a little bit special. I had really enjoyed my feathers and fans snood but that was DK and not suited for a 4ply, so I began the hunt. Computer mouse in hand I began the Ravelry search. I love Ravelry, it is not only bookmarked but featured on my toolbar for easy access. After a little deliberation I settled on the Windowpane Scarf by Adrienne Lash, it's simple but effective, especially with variegated yarn (as I could see from the pictures of scarves others had made using this pattern - thats a really bonus of Ravelry, you can see other peoples makes). It took me a 3 days which I was pretty pleased about.


I couldn't be more pleased with the finished product! I felt happy giving this as a gift (of course I would have loved to keep it for myself - but that's just an excuse to buy some more lovely yarn and make another one, isn't it?).

Perran Yarns

On Etsy: Here
Facebook: Here or Here
Twitter: Here

I don't get paid for linking to business etc. but firmly believe in sharing jolly good stuff and so wherever possible will link to patterns, supplies, yarn shops etc. so that you can enjoy their fab products to.

Wednesday, 30 March 2016

Socks - I will not be defeated!! - Part 2

So yesterday was Bank holiday Monday. Now when I've been teaching and have a class of children I am responsible for I usually spend my 'days off'/ 'holidays' planning, marking, researching or if I do try to do something relaxing or for me I spend the whole time feeling guilty and think "I should be; planning, marking, researching, resource making etc.".

Still on the road to recovery and not have a class to be responsible for, I decided I could really have a lazy bank holiday! I ripped my sock right back to the cuff (as that bit looked fine) and started again from those few rows.
I even got excited when I realised my nail varnish matched my yarn! Sad, lol!

My other half (AKA - Mr Grumpy, name of his own choosing I hasten to add) brought me the X-Men box set last year some time and has asked me a few times whether I've watched it yet. Today seemed like the perfect opportunity, knitting my socks and a movie marathon. So I got cracking.

4 and a half films and one sock later and it was time for bed.


29/3/2016 - Sock update: Cast on for second sock this morning and think I've done quite well, not quite so much as yesterday but a fair bit seeing as my day hasn't just been knitting socks. I was determined to turn the heel tonight and I have just done a few ordinary knit rows post heel turn and so I am off to bed! Also finished the 4th movie in the set and watched the 5th - one more to go and I can say whole heartedly that I've watched the set from beginning to end, and made a pair of socks of course! (Need to finish the second sock before the end of the last film! Sounds like a challenge to me.

30/3/2016 -Today included another visit to the driving range with Mr Grumpy and so I had the perfect opportunity to knit the foot part of my sock (knitting my socks at least kept my hands warm, even if the rest of me was freezing. I must learn to take gloves/mittens).
20:00pm - Having just got home I now need to check the length against the already finished sock and hopefully get it finished so I have a pair to show off tomorrow.
22:25pm - We have a pair!! My first pair of socks!! Mission accomplished! :)

Hmmm... I might get started on the next pair. I already have a plan and the yarn. For my next pair I'm planning to use a DK by West Yorkshire Spinners - a plain colour with the navy for heels and toes again, before hopefully progressing to 4ply. Would love to make Mr Grumpy a pair of socks but it would have to be 4ply as anything else would be too thick and make him overheat. Keep a look out for more socks.

Sunday, 20 March 2016

Feathers and Fans Snood

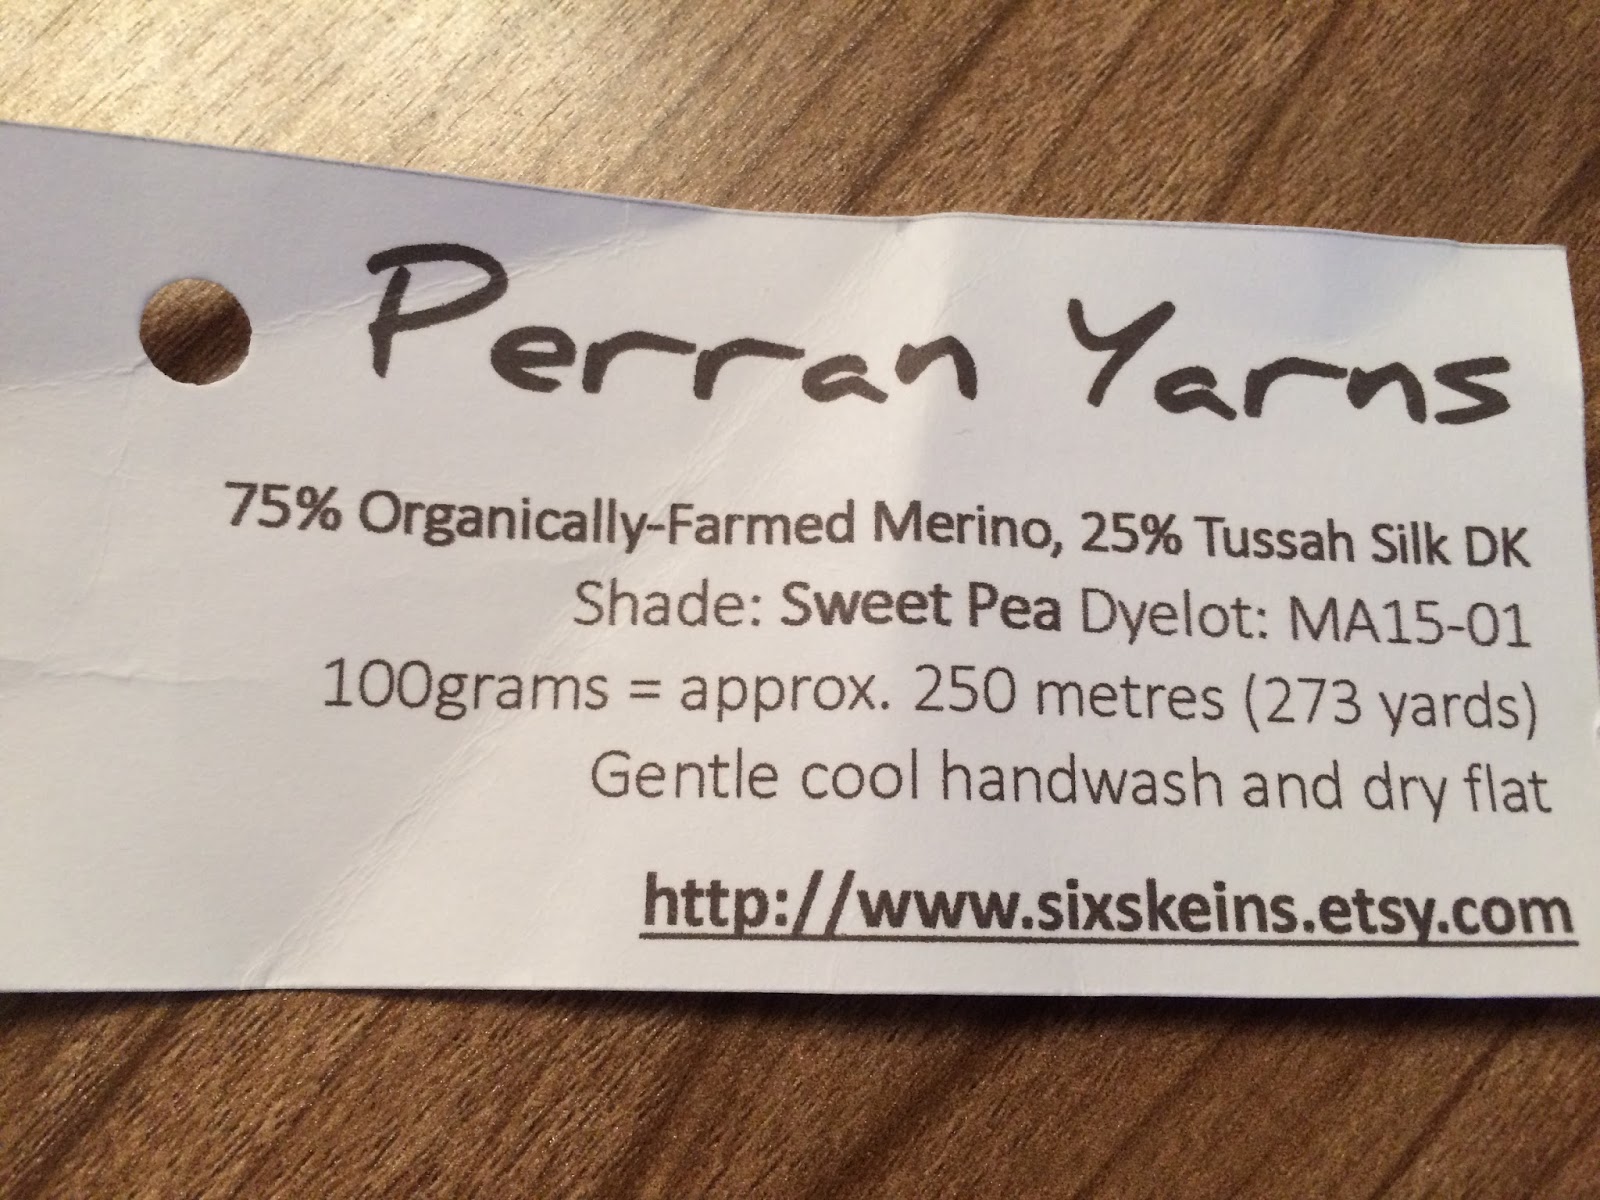
My LYS (Local Yarn Shop - mine is WeKnitYouCanToo) stocks some simply gorgeous yarns hand dyed here in Cornwall - Perran Yarns. I had noticed one that had been catching my eye for a couple of weeks a DK (Double Knit) Skein in a colourway names Sweet Pea. The colours caught my eye and just made me think of holidays in the Scottish highlands amongst the heather. Each week I would admire the colours and the softness when I could resist no longer I snapped it up and took it home.

As so often is the case, the next question was what to make with it. I am a far more confident crocheter than knitter. In the same way I drive an automatic car because I simply can't get my feet to do two different things at the same time, I crochet because co-ordinating one hook is easier than two needles. At the time of making this item about which I am blogging, I would say I was still really learning to crochet, I wasn't confident remembering the stitches or reading patterns. However, I had the wonderful Sue at WeKnit, to encourage and guide me - she's brilliant like that (don't tell her, but I have a lot to thank her for, not only am I now a pretty ok, and I would go as far to say, have become an intermediate level crocheter, but have also gained an awesome friend in the process).

Sue showed me a pattern she was working on - feathers and fans (this stitch for scarves etc. can easily be found on Ravelry with a quick search). However being the awkward ladies that we are we wanted our pattern to appear horizontally rather than vertically. Here is a link to the pattern written by Sue and posted on her blog - I love it!! Feather & Fan Neckwarmer and here is a photo of my snood. I absolutely love it, it's soft and snuggly and I love wearing it.

Perran Yarns

On Etsy: Here
Facebook: Here or Here
Twitter: Here

I don't get paid for or asked to link to business etc. but firmly believe in sharing jolly good stuff and so wherever possible will link to patterns, supplies, yarn shops etc. so that you can enjoy their fab products too.


Monday, 14 March 2016

The personal touch - personalised buttons

My recent discovery of Stip&Haak patterns opened me up to a whole other world. They even have a fans of Stip&Haak page on Facebook. I noticed on the patterns and on the fan page that many people use personalised buttons to add detail to their work.

So a quick Google and I was immersed in pages of buttons. I wanted wooden buttons and managed to find GirlsFever website: https://girlsfever.com/ based abroad (Hong Kong I think). I usually try to buy in the UK where possible but struggled to find anything I liked and priced reasonably over here. (Usually I really don't mind spending a bit extra to buy British but when you find something you like you have to go with it.

I deliberated about sizes, fonts, icons and wording for some time. The people at GirlsFever were great though, once I place my order online they made a mock up design and e-mailed it to me for approval, and were fantastically accommodating when I changed the design twice as it didn't quite fit how I wanted it. 

The buttons arrived less than 2 weeks later and I was really pleased with the quality.


I was over the moon with these and couldn’t wait to start using them. Unfortunately, my most recently finished make was the baby blanket featured in a previous post (these buttons arrived a few weeks ago, before I returned to the blogging realm) and I wouldn't feel confident attaching anything to a baby blanket that could come off or cause a choking hazard. Not wanting to miss the opportunity I reached for the brown labels, stitching one of my lovely new buttons to one corner of the label with matching yarn and wrote my little message. I then cut the washing instructions for the wool out of the ball band and stuck it onto reverse side of the label - genius if I do say so myself!! :) 

I am so pleased with the quality and the ability to add that extra personal touch to my makes. Will definitely order from them again when I run out and am recommending them to all. They also happen to do fabric labels which you can sew into larger items for that professional look.